How to Replace a Zipper on a Jacket Without Sewing Skills
Replacing a zipper on your favorite jacket can be daunting, especially if you don’t have sewing skills. But don’t worry; you can do it yourself without ever touching a needle and thread. This guide will walk you through a straightforward, no-sew method to replace a broken or damaged zipper, helping you extend the life of your jacket. Whether you’re dealing with a stuck zipper or one that’s completely fallen off, these simple steps will help you get your jacket back to wearable condition. Gather a few basic tools, follow these instructions, and you’ll know how to replace a zipper on a jacket and have your it as good as new in no time.
What Tools Do You Need to Replace a Zipper?
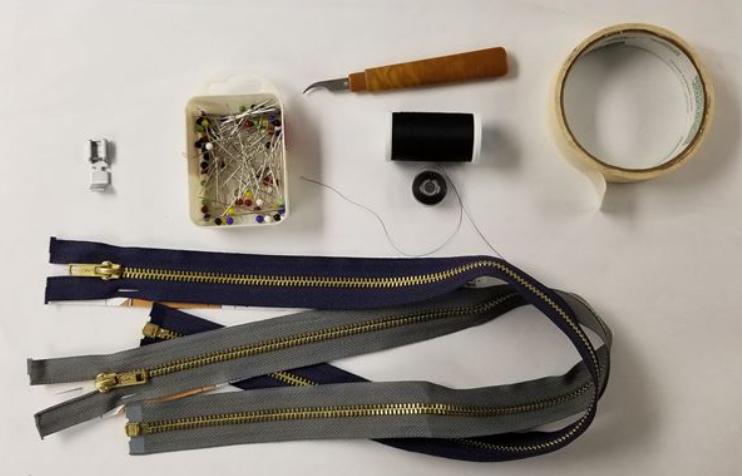
Before starting the zipper replacement, it’s essential to have the right tools on hand. First, you’ll need a pair of needle-nose pliers to remove the old zipper. Next, gather some fabric glue or strong adhesive designed for textiles to secure the new zipper in place. A pair of scissors will be handy for trimming any excess fabric. You’ll also need a zipper of the appropriate length and style for your jacket. Finally, having a ruler or measuring tape can ensure precise placement. These tools are easy to find and will make the process much smoother, even for those without any sewing experience.

How to Replace a Zipper on a Jacket Without Sewing
Step 1: Measure the Zipper
The first step is to measure the length of the old zipper. Using a ruler or measuring tape, carefully measure from the top to the bottom of the zipper. Make sure to take note of this measurement, as you’ll need to find a new zipper that matches this length. Choosing the correct size is crucial for a seamless replacement. A zipper that’s too long or too short can cause alignment issues, leading to further complications. If you’re unsure, always opt for a slightly longer zipper, which can be trimmed to fit. This step ensures that your new zipper will fit perfectly in the space where the old one was.
Step 2: Choose the Color or Style of the Zipper
After measuring, it’s time to select a zipper that matches the style of your jacket. Consider the color, material, and design. If your jacket is a standard black or navy, a matching zipper will maintain its original look. However, if you want to add a unique touch, you can choose a contrasting color or even a metallic zipper for added flair. Ensure that the zipper’s teeth are sturdy and that the pull tab is comfortable to grip. This step is not only about functionality but also about keeping your jacket’s aesthetic intact, so choose carefully to ensure satisfaction with the final result.
Step 3: Note the Old Zipper Position
Before removing the old zipper, take a moment to note its exact position. This can be done by marking the top and bottom of the zipper with a fabric pen or a small piece of tape. Observing how the zipper is aligned with the jacket’s fabric will help you replicate its placement with the new zipper. Pay attention to how the edges of the fabric align with the zipper teeth, as this will be crucial for the new installation. Taking these precautions will help prevent misalignment issues when securing the new zipper, ensuring it works smoothly and looks professional.
Step 4: Position Your New Zipper
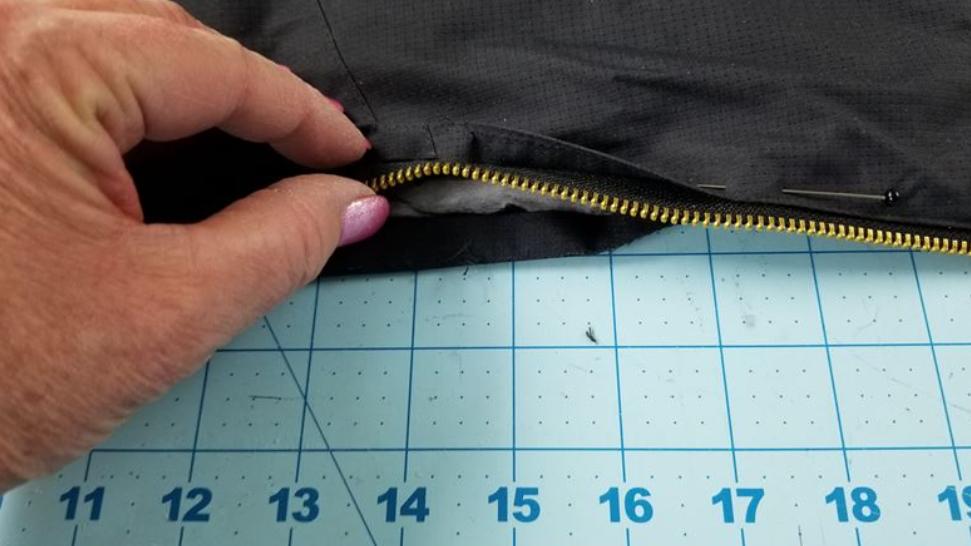
Now that the old zipper has been removed and you have a new one ready, it’s time to position the new zipper in place. Align the top of the zipper with the mark you made earlier, ensuring that it sits straight along the edge of the fabric. Carefully adjust the zipper so that the teeth line up correctly with the fabric edges. It’s important to double-check the placement before proceeding, as any misalignment can cause the zipper to function improperly. This step is crucial for ensuring that the new zipper will not only work smoothly but also look like it was professionally installed.
Step 5: Install a Zipper Foot
If you’re using a sewing machine, this is where you would install a zipper foot to ensure even stitching along the edges of the zipper. However, since this guide is focused on a no-sew method, we’ll skip this step. For those interested in sewing, the zipper foot allows for precise stitching close to the zipper teeth. If you’re not sewing, you can use fabric glue or a strong adhesive to secure the zipper in place. Apply the glue evenly along the fabric edges, pressing firmly to ensure a strong bond. This step ensures that your zipper will stay securely in place without the need for sewing.

Step 6: Secure the Zipper Without Sewing
Now that the zipper is in position, it’s time to secure it without sewing. Apply fabric glue along the edges of the zipper, ensuring that it adheres well to the jacket fabric. Press the zipper firmly in place, making sure there are no gaps or misalignments. Allow the glue to dry completely according to the manufacturer’s instructions. Some glues may require a few hours to set fully, so be patient. Once the glue has dried, test the zipper by zipping and unzipping it several times to ensure it’s functioning correctly. This final step ensures that your zipper replacement is not only effective but also durable.
What Are the Common Mistakes to Avoid?
Incorrect Tool Usage
Using the wrong tools or not using tools correctly can lead to a faulty zipper replacement. For instance, using dull scissors can result in uneven cuts, while improper use of fabric glue can cause the zipper to come loose over time. It’s important to ensure you have the right tools and understand how to use them before starting the replacement process. Following the instructions carefully and taking your time can help you avoid these common mistakes. Always read the instructions on your tools and materials to ensure you’re using them correctly and effectively, as this can make a significant difference in the outcome of your project.
Misalignment of the Zipper
One of the most common mistakes when replacing a zipper is misalignment. If the zipper isn’t positioned correctly, it can cause the jacket to look uneven and the zipper to function improperly. To avoid this, take extra care when placing the zipper, ensuring it aligns perfectly with the jacket fabric. Double-check your measurements and markings before securing the zipper in place. Even a slight misalignment can lead to issues, so it’s worth taking the time to get it right. This attention to detail will ensure that your jacket not only looks good but also that the zipper works smoothly and reliably.
Not Securing the Zipper Properly
Failing to secure the zipper properly can result in it coming loose after only a few uses. Whether you’re using fabric glue or another adhesive method, it’s crucial to apply it evenly and allow sufficient time for it to set. Rushing this step or using too little glue can lead to a weak bond that won’t hold up under regular use. Ensure that the entire length of the zipper is firmly attached to the fabric and that the adhesive has fully dried before testing the zipper. This careful attention to detail will help prevent the zipper from detaching and keep your jacket in wearable condition for a long time.
Safety Tips for Replacing a Zipper
Safety should always be a priority when working with tools and adhesives. When using needle-nose pliers or scissors, be mindful of where your fingers are to avoid accidental cuts or pinches. If you’re using fabric glue, work in a well-ventilated area to avoid inhaling fumes, and be careful not to get glue on your skin. If you do, wash it off immediately with soap and water. It’s also a good idea to wear protective gloves when handling adhesives. Following these safety tips will help you complete your zipper replacement smoothly and without injury, ensuring that the process is not only effective but also safe.
Conclusion
Replacing a zipper on your jacket without sewing skills is entirely possible with the right tools and techniques. By following the steps outlined in this guide, you can know how to replace a zipper on a jacket and restore your jacket to its former glory without needing to sew a single stitch. Remember to take your time, measure carefully, and secure the zipper properly to ensure a successful replacement. With a little patience and attention to detail, you can extend the life of your favorite jacket and save money on repairs. Whether you’re fixing a broken zipper or simply updating an old one, this method is both effective and easy to follow.
FAQ
Can I replace a jacket zipper without any tools?
While it’s possible to replace a zipper without specialized tools, having basic tools like needle-nose pliers, scissors, and fabric glue makes the process much easier and ensures a more professional result. Without tools, you may struggle to remove the old zipper or properly secure the new one. Therefore, it’s recommended to use the appropriate tools for the best outcome, even if you’re not sewing.
How long does it take to replace a jacket zipper?
The time it takes to replace a jacket zipper can vary depending on your experience and the tools you have on hand. On average, the process can take anywhere from 30 minutes to an hour. This includes measuring, removing the old zipper, positioning the new one, and allowing the adhesive to dry. Taking your time to ensure accuracy will result in a better, longer-lasting repair.
What type of zipper is best for a jacket replacement?
The best type of zipper for a jacket replacement depends on the material and style of your jacket. For heavy-duty jackets, a metal zipper with sturdy teeth is recommended. For lighter jackets, a plastic or nylon zipper may be more suitable. Always choose a zipper that matches the length, color, and style of your original one for the best results.
