How to Replace Treadmill Belt: Step-by-Step Guide
Replacing a treadmill belt is essential for maintaining the smooth operation of your machine. Over time, the belt on your treadmill can wear out, leading to decreased performance and potential damage to the treadmill’s motor or deck. Recognizing when the belt needs to be replaced is crucial to avoiding these issues. By learning how to replace treadmill belt yourself, you can save money on repairs and prolong the lifespan of your treadmill. This guide will provide you with the necessary steps, from identifying when your treadmill belt needs replacing to gathering the right tools and following the correct process to ensure a successful replacement. Let’s dive into the details and get your treadmill running like new again.

Why Do You Need to Replace Your Treadmill Belt?
Signs Your Treadmill Belt Needs Replacement
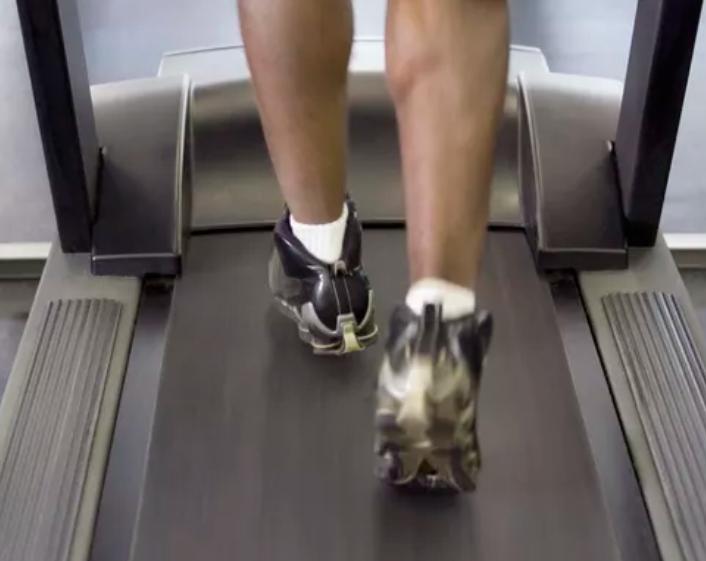
The first step in maintaining your treadmill is recognizing when the belt needs to be replaced. Visible signs such as fraying edges or a smooth, shiny surface on the belt indicate wear and tear. Another key sign is when you notice the belt slipping or feeling less secure underfoot, which can be dangerous during use. Additionally, if the belt no longer provides a smooth, even motion or if you hear unusual noises, these are indicators that the belt is misaligned or worn out. Regularly inspecting your treadmill belt for these signs can help you avoid potential damage to the treadmill’s motor or deck and ensure a safer workout experience.
Risks of Ignoring a Worn Treadmill Belt
Ignoring the signs of a worn treadmill belt can lead to significant problems. A deteriorated belt can cause excessive strain on the treadmill’s motor, potentially leading to costly repairs or even the need for a full motor replacement. Furthermore, a damaged belt can result in uneven wear on the deck, which might require sanding or complete replacement. The safety risks are also notable—a slipping belt can cause falls, while an overheated motor due to a faulty belt can create a fire hazard. Addressing treadmill belt issues promptly can save you money, prevent more extensive damage to the machine, and reduce the risk of injury during use.
Benefits of Timely Treadmill Belt Replacement
Replacing your treadmill belt at the right time has several advantages. First, it ensures the smooth and efficient operation of your treadmill, providing a better workout experience. A new belt reduces the strain on the motor, helping it run cooler and more efficiently, which can extend the life of the treadmill. Moreover, a properly functioning belt ensures your safety during workouts, reducing the risk of slips or falls. Lastly, timely replacement can prevent more severe damage to other components of the treadmill, such as the deck or rollers, which could result in more expensive repairs down the line. Regular maintenance and belt replacement are essential for keeping your treadmill in top condition.
What Tools Are Needed to Replace a Treadmill Belt?
Essential Tools for Treadmill Belt Replacement
Before beginning the replacement process, gathering the right tools is essential. You’ll need a set of screwdrivers, including both Phillips and flat-head types, to remove the treadmill’s motor cover and access the belt. An Allen wrench is typically required to adjust the tension of the belt and to remove any screws holding the belt in place. Additionally, having a pair of pliers on hand can be helpful for removing any clips or fasteners. A lubricant, specifically designed for treadmill belts, is also necessary to ensure smooth operation once the new belt is installed. These tools will make the replacement process smoother and help you avoid any delays or complications.
Optional Tools for a Smoother Process
While not strictly necessary, certain tools can make the belt replacement process easier. A belt tension gauge, for example, can help you ensure that the new belt is properly tensioned, preventing it from slipping or causing strain on the motor. A digital camera or smartphone can be useful for taking pictures of the treadmill’s components before disassembly, serving as a reference during reassembly. Additionally, a flashlight can help illuminate hard-to-see areas, making the process more manageable. These optional tools can streamline the process, making it less stressful and more efficient.
How to Replace Treadmill Belt: Step-by-Step Instructions
Step 1: Unplug and Prepare the Treadmill
Safety is the first priority when replacing a treadmill belt. Start by unplugging the treadmill from the power source to prevent any accidental activation while you work. Once the machine is safely disconnected, position it in a well-lit area where you have enough space to move around. If your treadmill has a foldable design, consider folding it to save space and make it easier to access the belt. Before you begin the disassembly, take a few photos of the treadmill’s current setup. These photos will serve as a guide during reassembly, ensuring that everything goes back into place correctly.

Step 2: Remove the Old Treadmill Belt
Begin by removing the treadmill’s motor cover, usually located at the front of the machine. Use a screwdriver to unscrew the bolts securing the cover, and carefully set them aside for later. Next, use an Allen wrench to loosen the belt tension by adjusting the rear roller bolts. This will allow you to slide the old belt off the treadmill deck. If the belt is particularly worn or stuck, use pliers to gently pull it free. Take your time during this step to avoid damaging the deck or rollers, which could complicate the installation of the new belt.
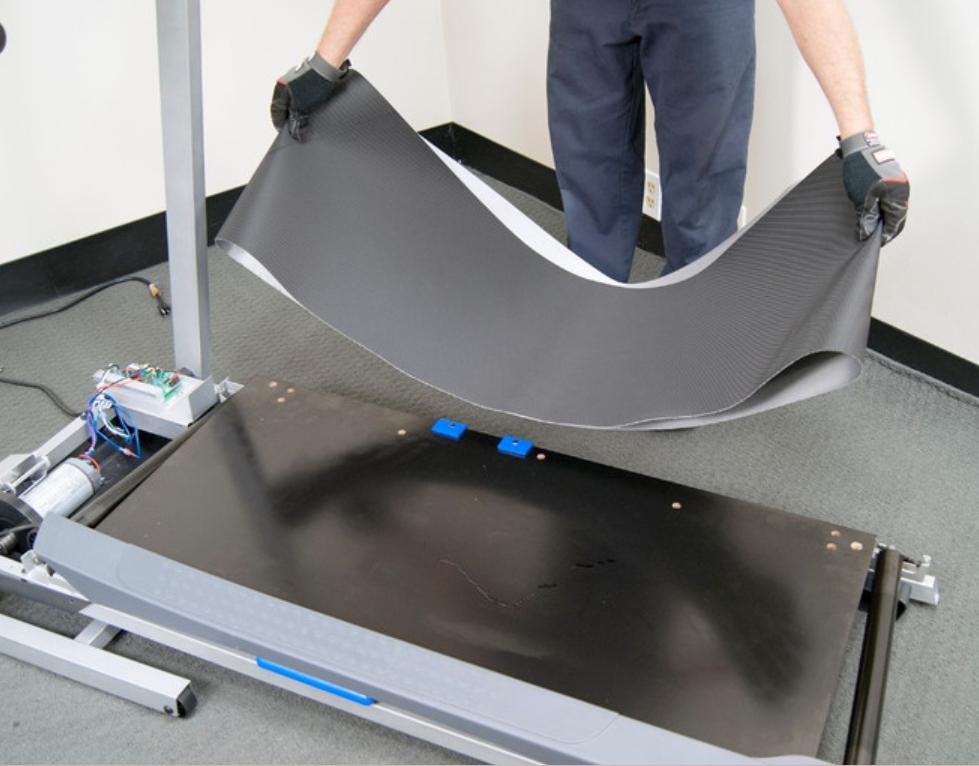
Step 3: Install the New Treadmill Belt
With the old belt removed, it’s time to install the new one. Begin by positioning the new belt on the treadmill deck, ensuring that it is centered and aligned with the rollers. Carefully slide the belt onto the front roller first, then guide it onto the rear roller. Make sure the belt lies flat and there are no twists or folds. Once the belt is in place, use the Allen wrench to adjust the rear roller bolts, gradually increasing tension until the belt is secure. Ensure that the belt is snug but not overly tight, as this could cause excessive wear.
Step 4: Adjust and Align the New Belt
After installing the new belt, the final step is to adjust its alignment and tension. Plug the treadmill back in and turn it on at a low speed. Observe the belt’s movement to ensure it stays centered on the deck. If the belt shifts to one side, use the Allen wrench to make small adjustments to the rear roller bolts until the belt is properly aligned. Once aligned, let the treadmill run for a few minutes to ensure everything is working smoothly. Proper alignment and tension are crucial for the longevity and performance of your new treadmill belt.
Conclusion
Replacing a treadmill belt might seem daunting, but with the right tools and instructions on how to replace treadmill belt, it’s a manageable task. Understanding the signs of a worn belt, gathering the necessary tools, and following the step-by-step process will ensure a successful replacement. By performing this maintenance yourself, you can save money, extend the life of your treadmill, and maintain a safe and effective workout environment. Always remember to regularly inspect and maintain your treadmill to avoid future issues. With your new belt installed and properly aligned, your treadmill is ready to provide many more miles of reliable performance.
FAQ
1. How often should I replace my treadmill belt?
Treadmill belts typically need replacement every 3 to 5 years, depending on usage and maintenance. Regular inspection for signs of wear can help you determine the right time for replacement.
2. Can I use any treadmill belt as a replacement?
No, it’s essential to use a treadmill belt that is compatible with your specific treadmill model. Check your treadmill’s manual or contact the manufacturer for the correct replacement belt.
3. What should I do if the new belt slips or makes noise?
If the new belt slips or makes noise, it might not be properly tensioned or aligned. Re-check the tension and alignment according to the instructions, and make adjustments as needed. Lubricating the belt can also reduce noise.
